• Since this seems to be the season for finishing half-done projects, I got out that Gee's Bend "Medallion Variation" kit that gave me so much grief a year ago, before I've even cut the fabrics.  Every so often at day camp last week, I spread out our three little quilts and thought, "Wouldn't have been nice to have that big Gee's Bend thing?"  Yesterday I dug it out of the drawer and realized that it was decision time — either it gets made, or tossed in the scrap stash.

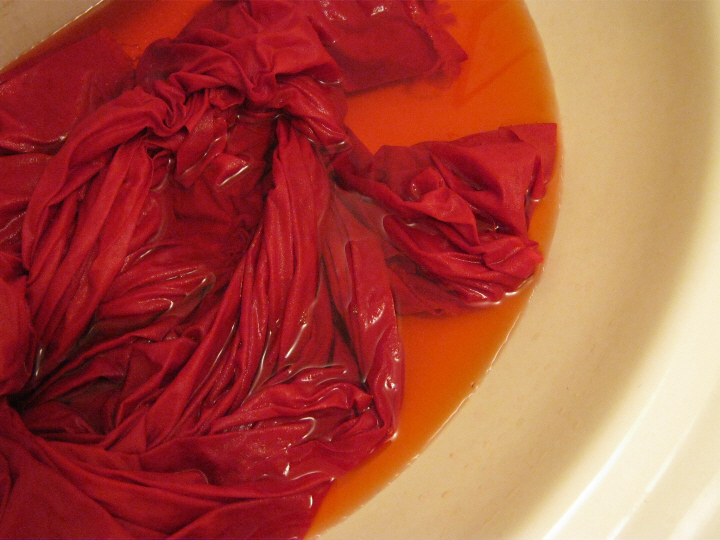
    I washed the red fabric with a white cloth, which came out pink, so I put it in the sink with a kettle-full of boiling water and it still bled —

    3438

    Then I gave up and tossed all of the fabrics, red one too, into the washing-machine together.  I figured that either it would be (miraculously) all right, or I would see exactly what the red would do to the other colors if/when made into a quilt. 

    Well, it was actually not too bad, considering.

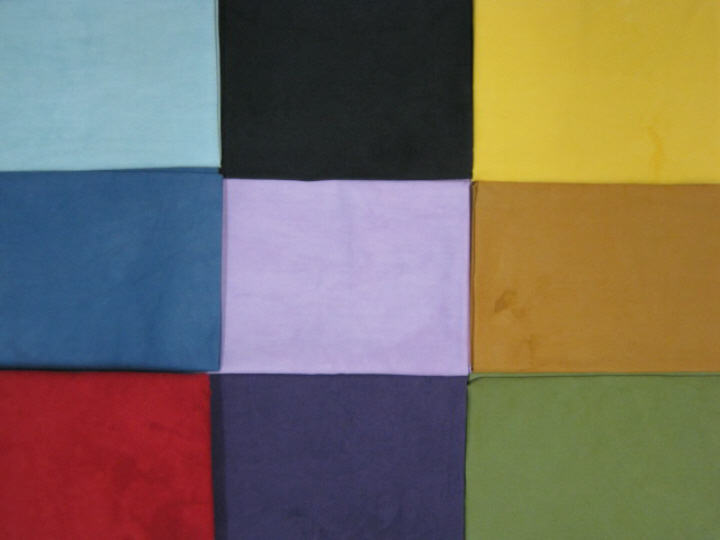
    So, to recap, these were the fabrics before washing,

    2238

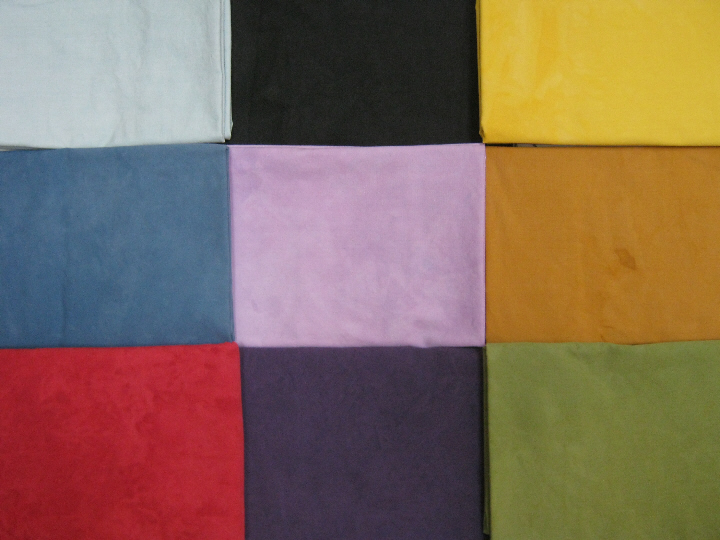
    then after washing twice separately, for all except the red, which was washed numerous times by itself,

    2877

    3444

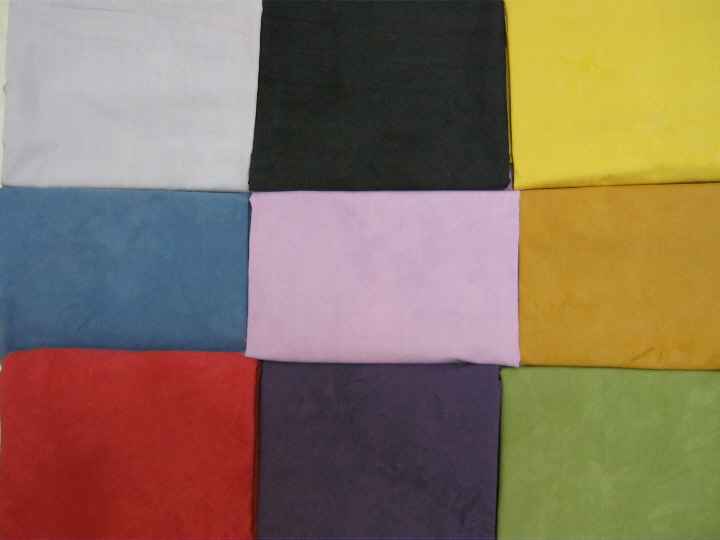
    and as they currently stand, the red after washing innumerably more times violently, and then one last time with all of the fabrics together.  The colors are not quite true-to-life here, as in fact I could not for a while tell the light blue (upper left corner) from the lilac (center) in person.

    I'm not sure how Windham can say with a straight face, "while the dark colors were just a bit changed [after washing], we found them a bit brighter and even more appealing".  All right, the dark colors are — except for the red — more-or-less unchanged, but the light colors are noticeably faded and altered, especially the poor light-blue.

    So I will start making up the quilt.  I am not so far especially impressed with the fabrics, either the color-fastness or simply the feel of them, which is a little stiff and canvassy, despite being light-weight, and, in the case of the three lightest colors, rather sheer.  All in all, I think it unlikely that I would buy this fabric again. 

    Wish me luck …

  • Bamboozle plums

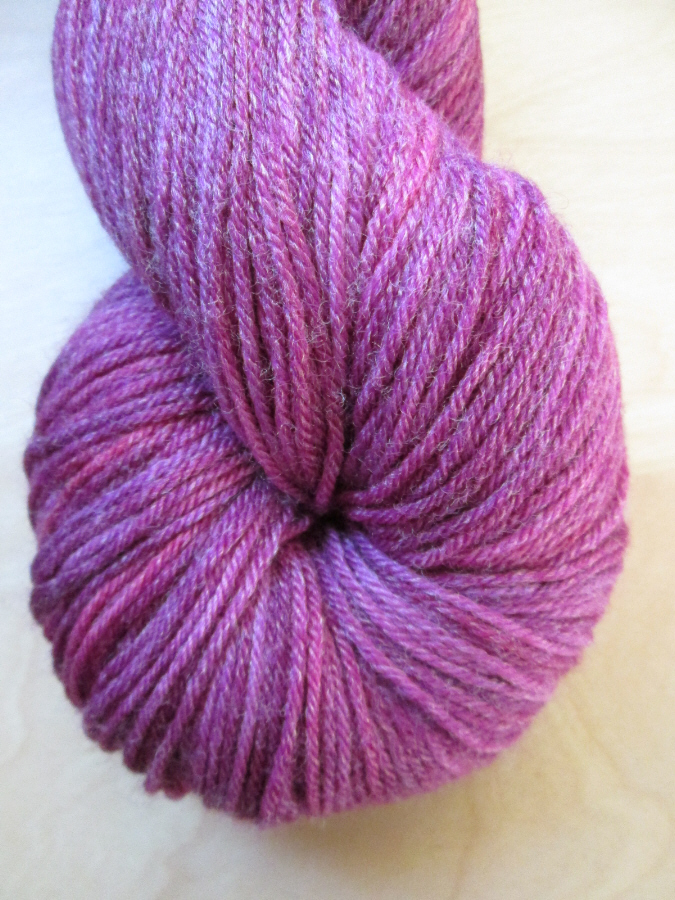
    I’ve been reading a lot lately — okay, a lot — so not much knitting.  (I’ll save the reading for another post.)  But next week is our Girl Scout community day camp, and the theme this year is … needlework! so I’ve pulled out this skein of Fyberspates Bamboozle and am pondering sock patterns, as I could hardly not knit at a needlework camp.  I bought this yarn only last October but it seems to have dropped off the face of the planet since then, no longer on either the Jimmy Beans website or even Fyberspates‘.  It’s very pretty, the Bamboozle, and was a pleasure to wind, although I was more than a little dismayed to find three splices in the one skein.  Well, it’s very pretty. Hedgerows, perhaps?

    Lh cotton

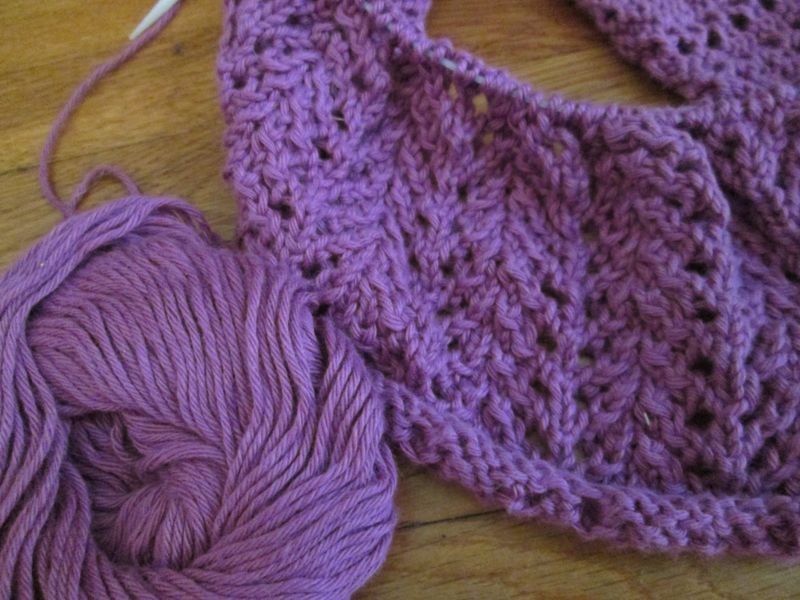
    This is actually the only knitting I’ve been doing for a long time, a neck schmatta that I started before Christmas as a present for Laura, out of some Louisa Harding cotton blend that I found at Tuesday Morning and promptly lost the label of.  I got sidetracked, obviously.

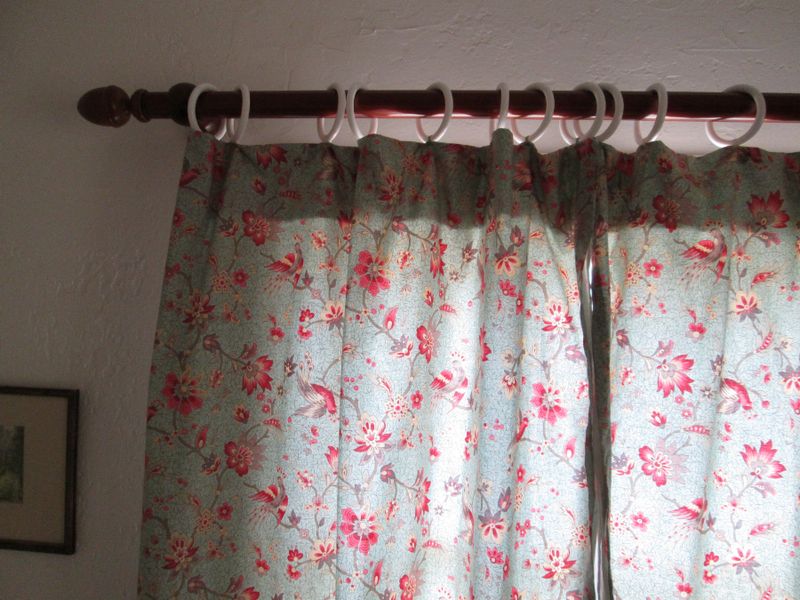
    I’ve also been doing a lot of sewing, most of which was curtains — lined! — for two of our bedrooms, which took weeks.  I’m not really happy with the first set, but I learned enough not to repeat the mistakes, and I’m very pleased with the second set.

    Curtains

    I did this next in about an hour after that, feeling quite the old hand —

    Pj

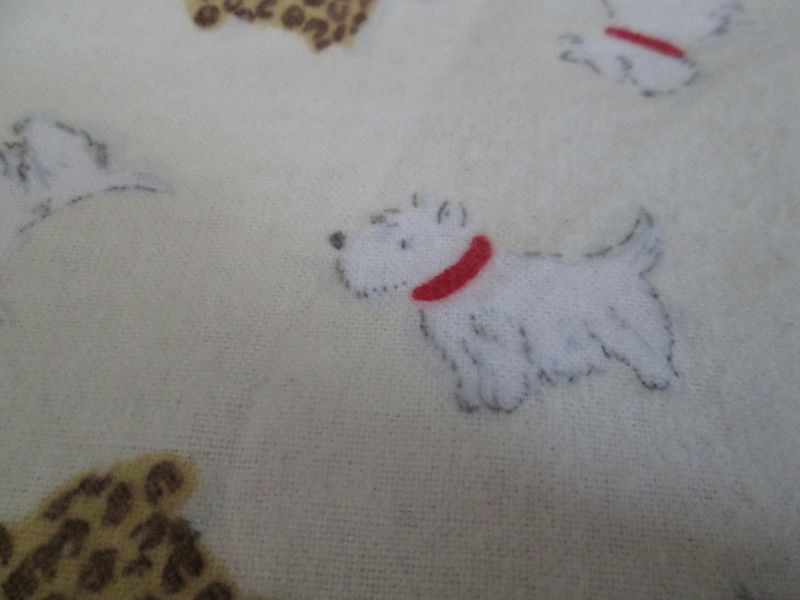
    a pair of flannel pajama bottoms for Julia, whose hand-me-downs are by now literally falling apart, besides hitting her mid-shin.  These are in a very cute Scotties print I’ve had in the drawer since Laura was two.  No, I don’t know why Scotties would be leopard-spotted, but there it is.

    Scottie

    (Look at that face!)

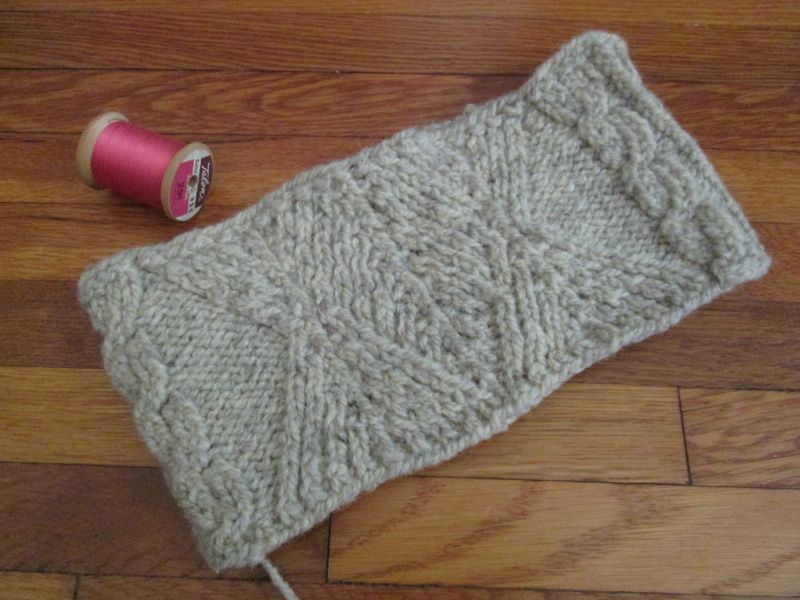
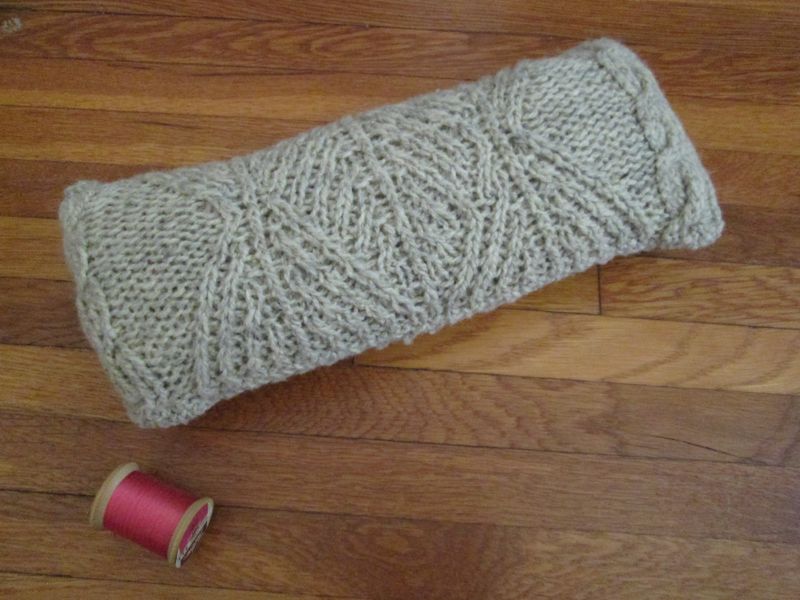
    All of this sewing made me realize yet again how very much I need a big pincushion, and, remembering all of the twee things they have at Jo-Ann’s, thought, “I could make one.”  After Googling the best thing to stuff pincushions with, and discovering that it’s wool — because the lanolin helps keep them rust-free — I thought, “Felted ball then — well, shape” and almost immediately remembered the swatch from my January Aran, thus,

    Step 1

    Step 2

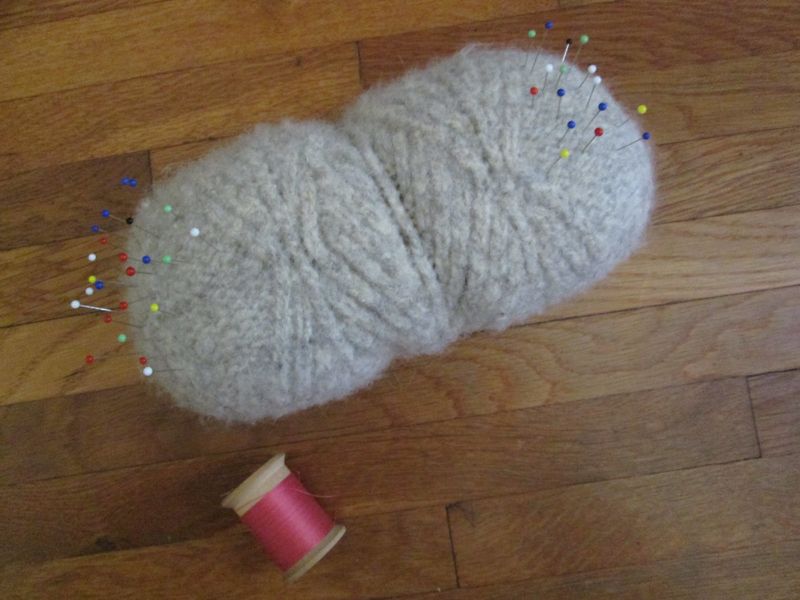
    sewed together and stuffed with a next-to-last skein of the Sheepswool chopped to bits, and washed six or eight times so far in the regular laundry, making I think the world’s homeliest pincushion —

    Homely pincushion 2

    Oddly, the two ends felted really well, but the middle is still soft and floppy — I like to think that this is from centrifugal force, but it’s probably just because the ends got more of a beating in the wash, being more vulnerable than the middle, as it were.  Still, the ends are perfect as pincushions go, nice and firm and non-shifting, and it’s so big that I can just stab blindly as I sew and be sure of hitting it.  Now I’m thinking of collecting all of those wool swatches I’ve still got somewhere, and making a needle-book or two …

  • Volunteer 1
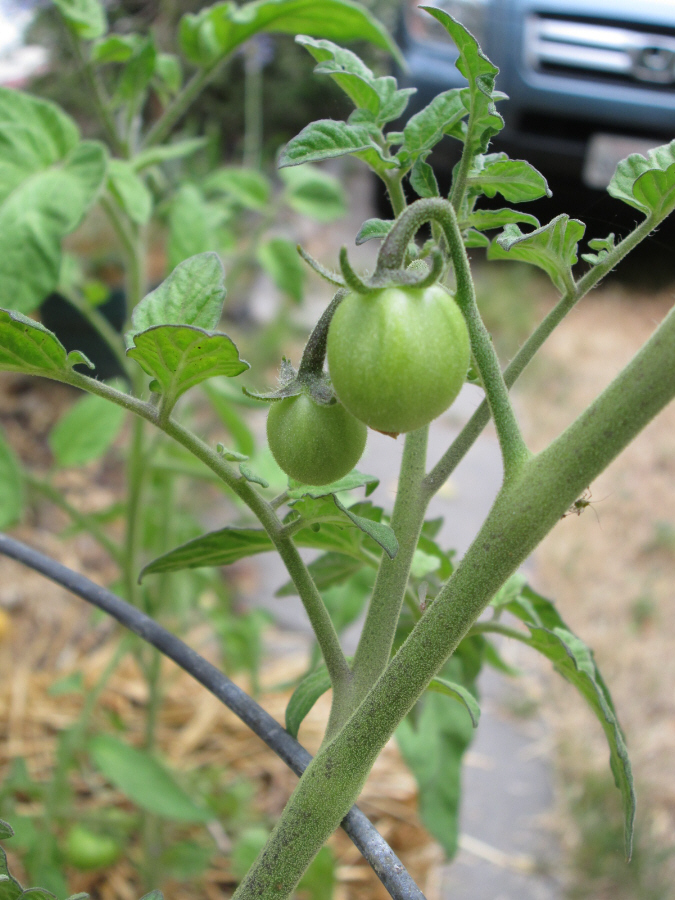
    Mystery tomato #1 — a Roma, perhaps?

    (Oh, there's a bug on the stem!)

    There is a fruit on the other plant as well — some kind of heirloom tomato, which is odd as I don't usually buy those at the supermarket, so it must be something that seeded itself from the last time we had plants, the year before last.  We never did get any tomatoes off of those, so it will be interesting to see what happens now.

    The two plants in the bale seem to be doing tolerably well — we had a bit of a hot spell a few weeks after I planted them, and the lower leaves on this plant never really recovered, but it's fruiting now! with more blossoms opening.  I've fed them, which I don't generally do with tomatoes in the ground, and I water them every other day lately, as it hasn't been unusually warm yet.

    (I love the look of green tomatoes, all the subtle gradations of color, and that silvery haze of almost needly fuzz –)

  • Memorial Day

    0657

  • Bale 4

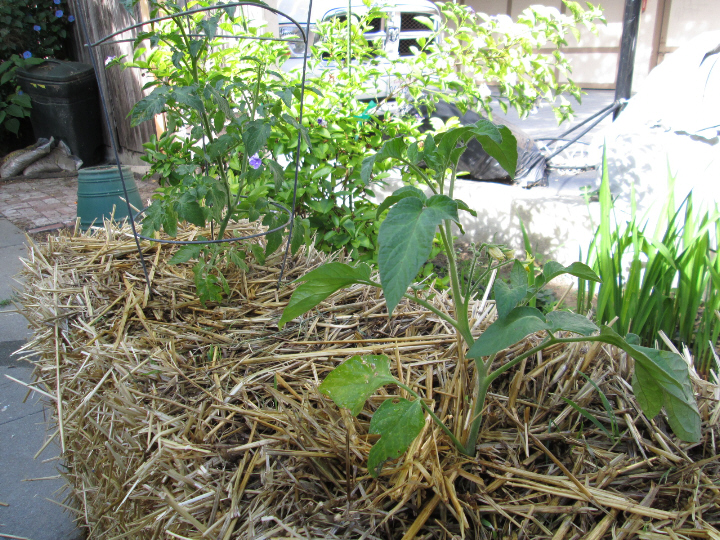
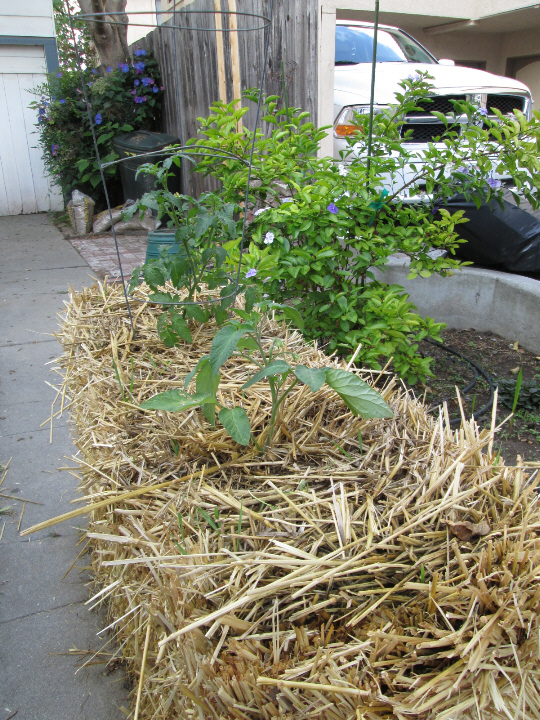
    Both of the straw-bale plants have blossoms now in Week 4, though the ones on the left are a little sad-looking. I've noticed that even on our bed-planted tomatoes a number of the blossoms are dropping; apparently this can be due to excessive temperatures, and we've been having a bit of a heat wave this past week, with temps in the high 90s F. (mid-30s C) though it's still May.  I'm watering the bale every morning, since it doesn't hold as much water as soil would.

    Only the cherry tomato in the back has fruit on it yet, but that is running rampant — all green though, as we planted a bit late in the season.

  • Bale 3

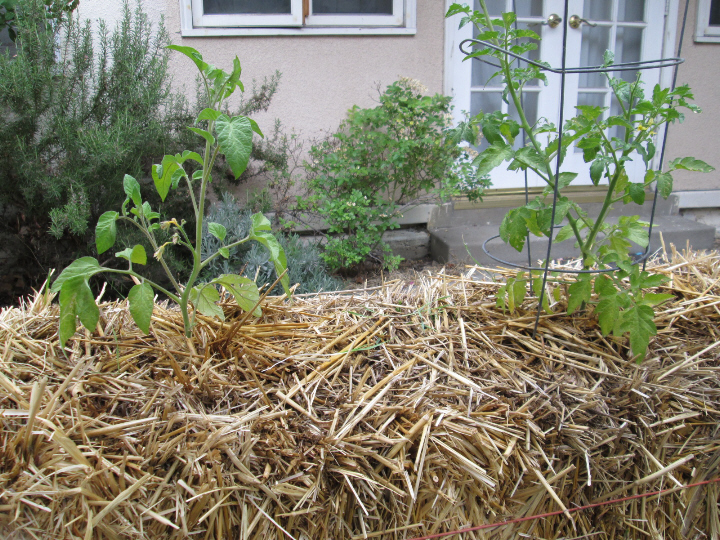
    Here is week 3 of our straw-bale tomato experiment.  The smaller plant did not like being transplanted, and wilted quite alarmingly for almost two days before perking up — the days were fairly hot, though, so that had something to do with it, I'm sure.  We have only one metal cage at the moment, so it went on the bigger plant.

    The acidanthera in the background decided to come up after all, though there are only a few patches of them this year, instead of the full swathe of 120-bulbs-plus-descendants that I planted two years ago — I was glad to see them as they are very pretty.

  • Bale 2

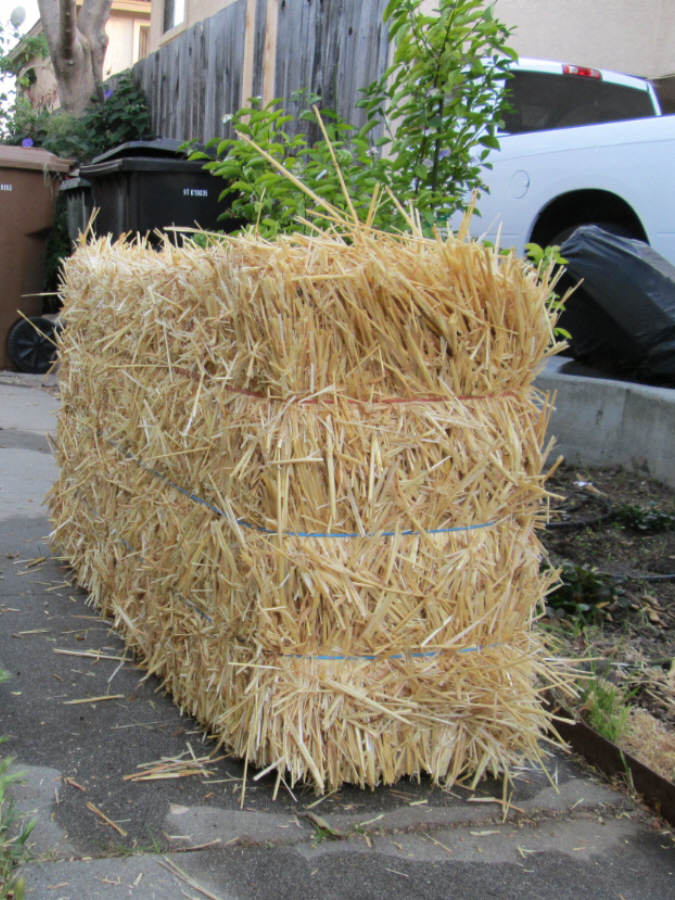
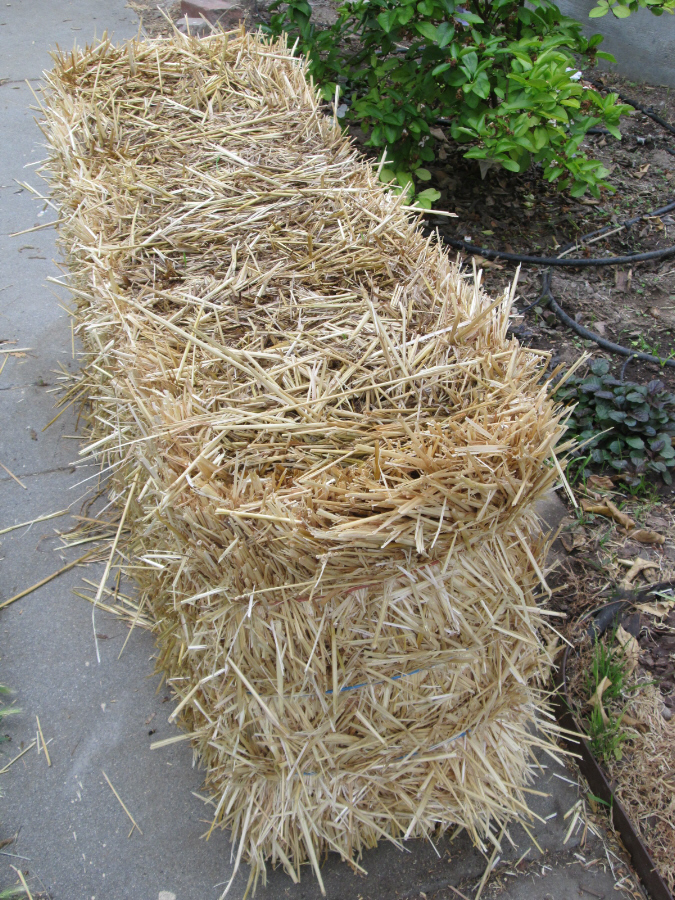
    On Days 8 and 9 of our straw-bale experiment, we continued to sprinkle the bale with a quarter-cup of bone meal, watering it in well.  Day 10 was watering only.  On Day 11, it was ready to plant.

    We debated for a while about whether to place the bale "strings down" or "strings around", but decided to put the bale with the strings parallel to the ground — that is, with the strings running around it, and the bale on what looks like its side.  This leaves more room to maneuver around the bale, and more space for roots, as I hear that tomatoes are deep-rooted.

    There was conflicting advice about whether or not to plant the crops in soil in the bale, or simply straight into the straw, and so since I did not happen to have any clean potting soil, I chose the latter.  (It's an experiment, right?!)

    I suspect that the smaller of the two plants might be a bell pepper, not a tomato, as it doesn't have that distinctive tomato-plant scent, but time will tell.

    You can see a number of green weeds poking up through the straw here — I didn't see them before I took the photo since I was admiring the plants from the top, but I've picked them out since.  Don't know if they are invaders or from seeds left in the straw; they are all the same kind, long and narrow blades.

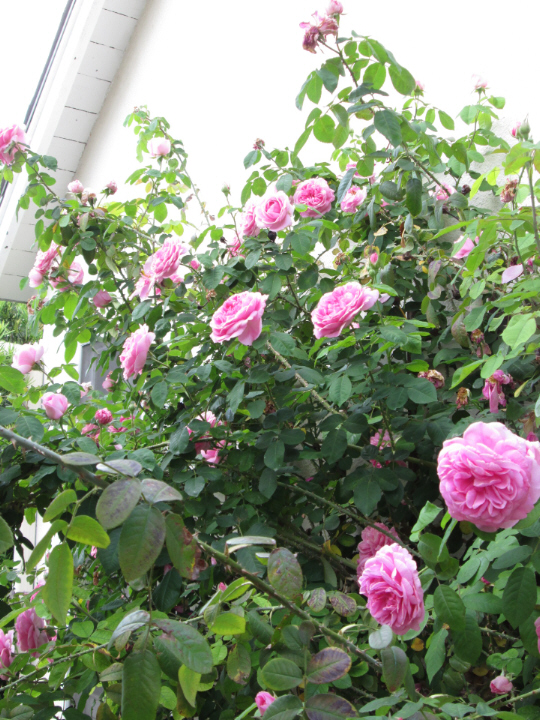
    I couldn't resist showing off this —

    Gertrude jekyll

    the "Gertrude Jekyll" rose growing on a trellis on the side of the house.  The blooms are full and gorgeous, and the scent is so strong that I can smell it down at the end of the drive. 

  • 0304

    A number of things combined to lead us into trying something new this spring: straw-bale gardening.  We ended up with a number of tomato volunteers growing near our compost bin but no more space in the two prepared beds we have already planted — my mom clipped out a newspaper blurb on a book about straw-bale gardening — and we have easy access to straw bales at the place where Julia takes riding lessons.  David stopped by there with his pickup truck on the way home from work last week, and bought a bale for us.

    I'm following the preparation instructions from Grow and Make, so Days 1-3 were simply watering the bale.  On Days 4-6, we sprinkled the bale with a half-cup of bone meal and watered it in well. 

    On Days 7 and 8, we reduced the bone meal to a quarter cup, still watering it in well.

    0395

    Preparing the bale with this method takes about eleven days, so that the inside of the bale has begun decomposing but has cooled off enough to plant.  You can see in this "Day 8" photo that the top of the bale is looking a little peaky.  It's noticeably warm inside, although it isn't especially easy to poke into, since of course the bale is packed very tightly.  I had thoughts of actually taking its temperature (!), but my food thermometer starts at 130° F. (ideal composting temperature is 135°-160°) and I don't think the probe is really long enough anyway.  On Day 11 I will make a bigger hole anyway, in preparation for planting.

    The downside is that the little gnatty flies like it, too.

  • 0334

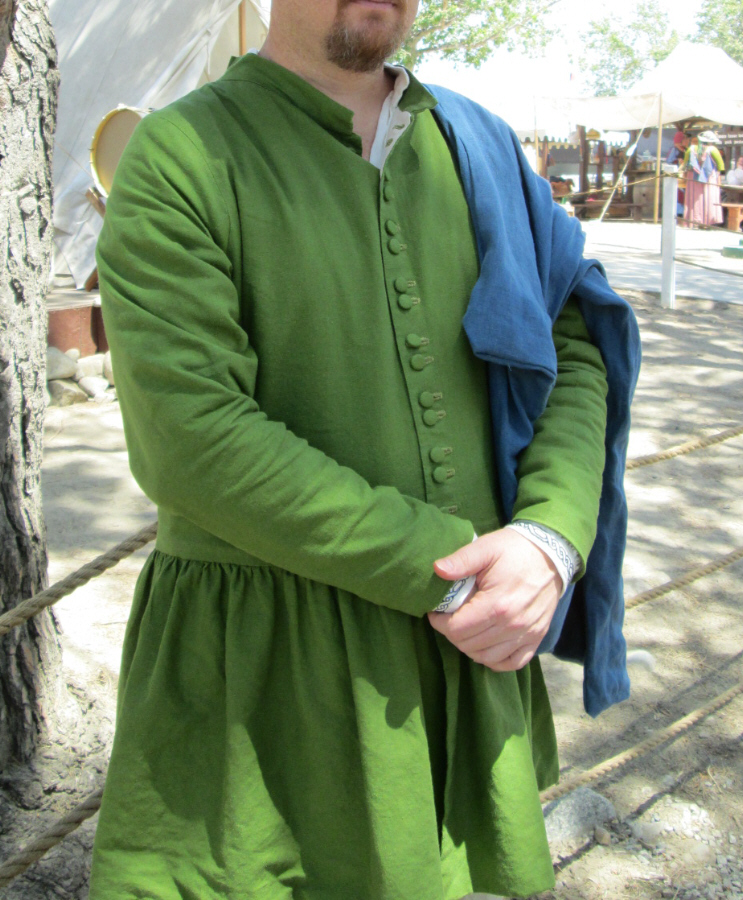
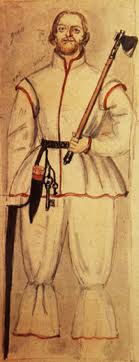
    David, stout fellow, said that he was game for pretty much anything, Faire-garb-wise, and so I decided to combine two of my interests, genealogy and historical clothing, and kit him out like a 16th-century Swede.  My inspiration ended up being mostly this —

    Dacke

    which happens to be Nils Dacke (ca.1510-1543), leader of a 16th-century peasant revolt in southern Sweden.  The jerkin is almost exactly, bar the red piping, like the one in The Tudor Tailor, and the location and period are spot on.

    I used Sew-Classics Linen-Look again for this jerkin, this time in "Calla Green", about 4 yds altogether, I think. The amount of fabric given in the book was not enough by about a 1/2
    yard, but possibly this is because David is noticeably bigger, upon
    reflection, than the Tudor Tailor model — that Swedish ancestry again!

    I had more problems with this jerkin pattern than the girls' kirtles, not sure why.  Maybe it is because David's shape and size is more different, as it were, from the Tudor Tailor model than the girls' are.  I ended up drafting a completely different sleeve pattern, using a tutorial from The Curious Frau, which gave me less trouble than the Tudor Tailor one, but David and I both decided that we like the shaped sleeve a little better, and so I slashed and curved the workable straight sleeve pattern to make a shaped one.

    The lining is unbleached muslin — I liked the way that the sandy-beige of the muslin contrasted with the calla green.

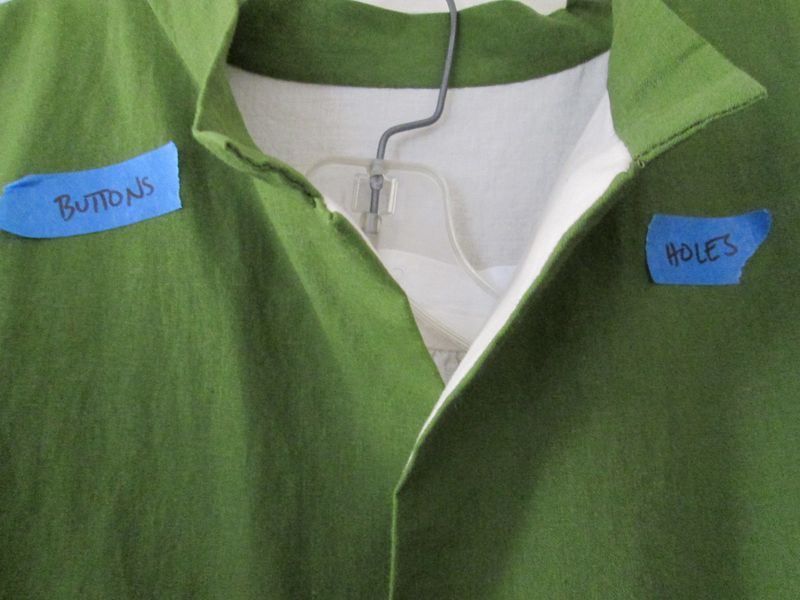
    I added a collar at the last minute when David said, "Is there a collar? I like collars" — so this one is a very simple folded strip of fabric attached to the rounded neckline of the jerkin.

    0374

    The skirt is about 1.75 times the width of the waist, roughly the proportion of the pattern in the book, but it looks to my eye a little too much, a little girly perhaps. I suppose one needs a good bit of room in the skirts to move one's legs, though, so the proof will be in the wearing.

    0336

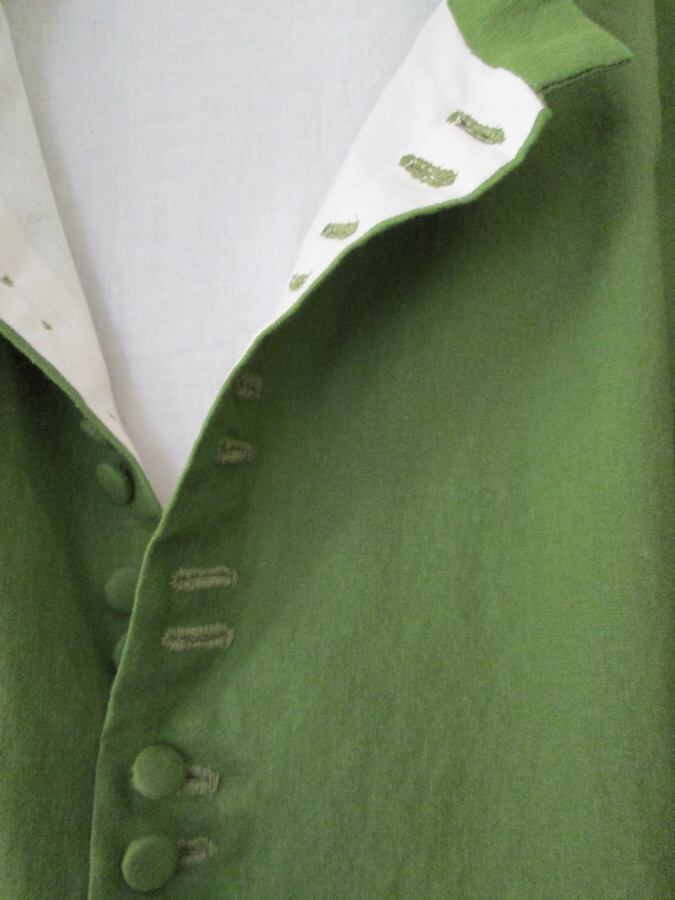
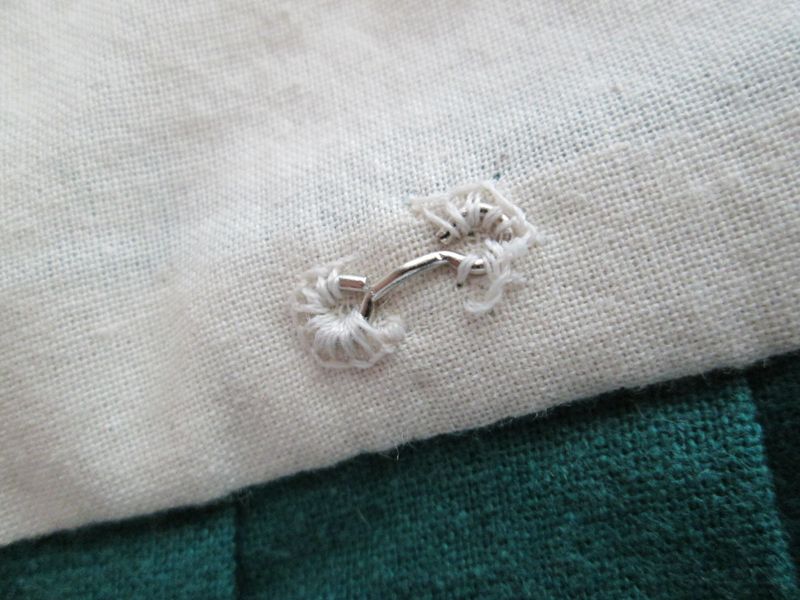
    I sewed all sixteen buttonholes by hand. This was not entirely my original plan, but for some reason, the machine or me, I can't do good buttonholes with the machine. The zigzag stitches tend to overlap in the middle, despite being well within the parameters given in the manual, and pop right out the moment the slit is cut. I made all of the buttonholes on the machine, then decided to hand-sew over them, one at a time, and cut only what I was going to do immediately, so that if I didn't have time or it was a howling failure, I could simply leave them uncut, as I expect David will wear the jerkin mostly unbuttoned anyway. This was in fact a very good plan, as I didn't feel compelled or daunted by the thought of sixteen hand-sewn buttonholes in front of me. The first one, after a few experiments on a piece of scrap with the same number of layers, took about an hour, and is pretty wonky, but I got noticeably better and quicker on the second one. I do recommend strong light and strong tea to hand, though. I also had the unpopped stitches as a guideline to help both in stabilizing the edge of the hole and to measure my stitches, as well as a dab of Fray-Check to keep the random threads at bay. Next time I will make the stitches smaller.

    They won't win any prizes, but I didn't think I could do it at all, and so I'm fairly proud of the results since in that light they're really not too bad.

    0297

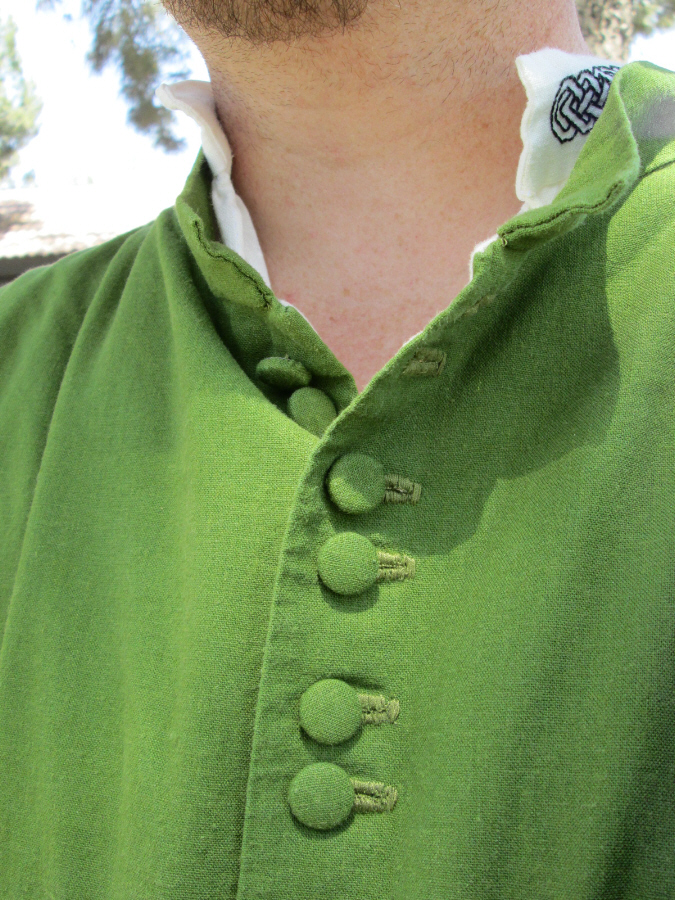
    The buttons are 5/8-inch forms from Dritz — I got sixteen buttons out of three packages of five each, because one package had an extra back and another had an extra button! — and so I decided to go with the paired-buttons arrangement instead of laying them out evenly spaced, although this is not quite the usual for jerkins, apparently.  I just like it.

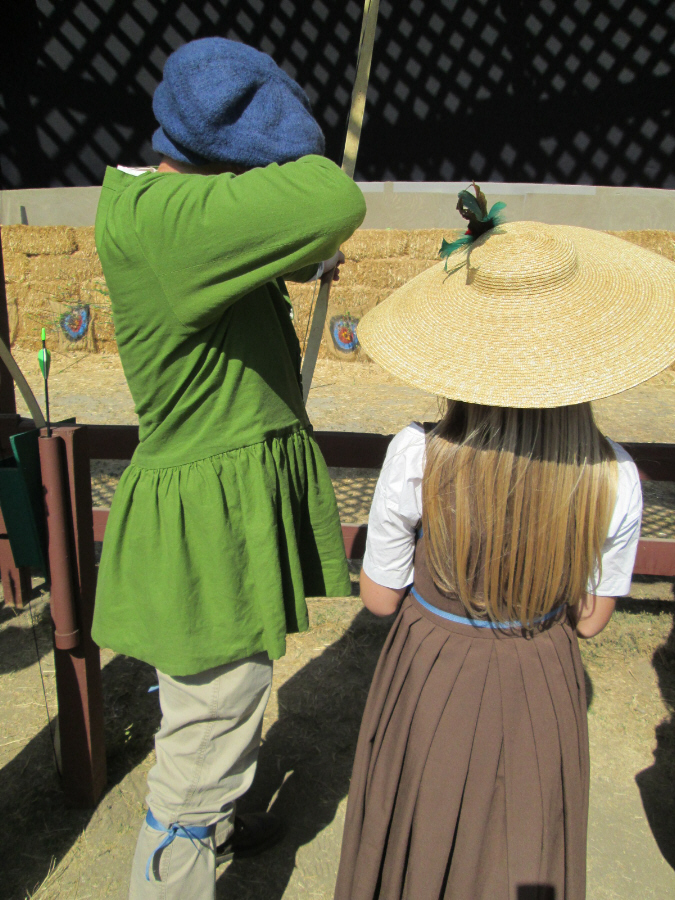
    There is great debate in historical-costuming circles as to whether trousers are acceptable, but the gist of it seems to be that for the most part only peasants and soldiers wore them, as if a man could afford hose, that is what he wore.  Nils Dacke was, of course, both peasant and soldier, in a way, and according to the author of a Swedish historical costuming blog I've recently discovered, Swedish peasants used to wear buckled garters on the outside of their trousers, just below the knee — just like those in the drawing of Nils Dacke.  So, considering that Mikael's focus in traditional Swedish costume being in the Mora/Orsa area of Dalarna, where David's Swedish ancestors were also from, I made some very quick garters from pieces of sky-blue grosgrain.  I regret that I haven't had time to make some proper trousers, so David is wearing a worn-out pair of chinos instead, but the jerkin covers the most non-period part, the zipper and waist!  Those attention-getting garters may distract anyone from noticing, anyway.

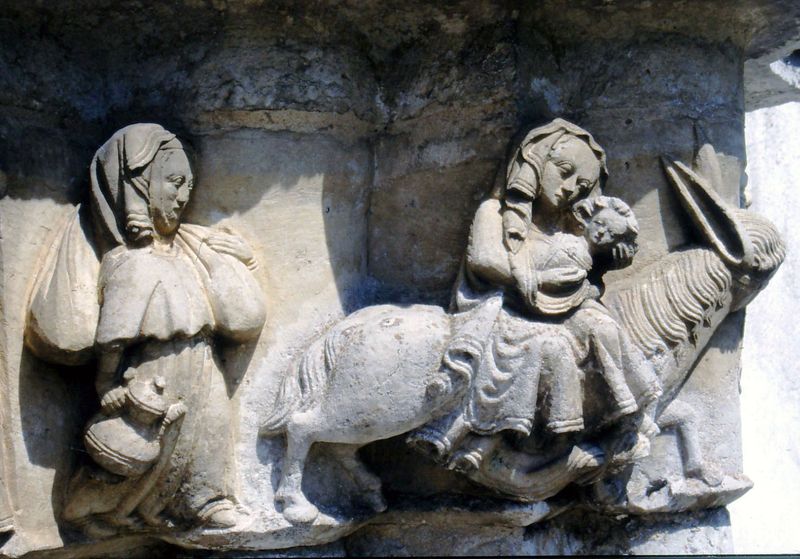
    I also made him a carry-sack to the instructions posted by Albrechts Bössor, a Swedish re-enactment group, which mediaeval carry-sack is based on this charming detail of the 14th-century carving of the "Flight into Egypt" at the church in Martebo, in Gotland —

    Martebo_kyrka.Flykten_till_Egypten.

    For this carry-sack, I used a piece of 100% linen from Fabrics-Store.com — I think it's the IL019 mid-weight in "Blue Bonnet", a beautiful deep blue that I had originally intended for an apron.  I used some leftover white linen for the facing, which I'm sure will be quite impractical in a carry-sack, but I didn't want to mix linen with something else that might not wash in quite the same way.

    I've really enjoyed this project of clothing my family for the Renaissance Faire, both the research and the decision-making, and the sewing.  I've learned a lot about myself,

    0270

    as well as about sewing and clothing construction.

    0247

    A good pattern and a good fabric will get much better results than indifferent ones.

    0315

    Rushing is almost always a bad idea. 

    In fact, I think that this is the best lesson I've carried away from this project — that although I could literally feel myself wanting if not instant gratification, then at least in-less-than-an-hour, taking my time and doing this carefully is much more satisfying, and saves an enormous amount of bother and disappointment.  I have much more confidence in my abilities than I did when I started — though there is still a long way to go, certainly!

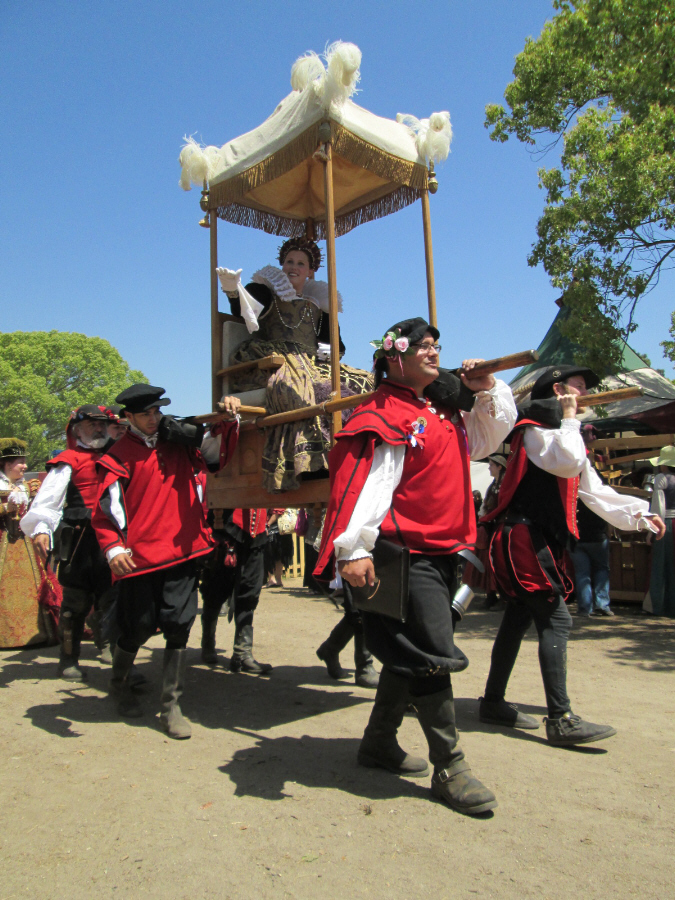
    I regret that I didn't get a photograph of all four of us together — but there is always next year!

    0331

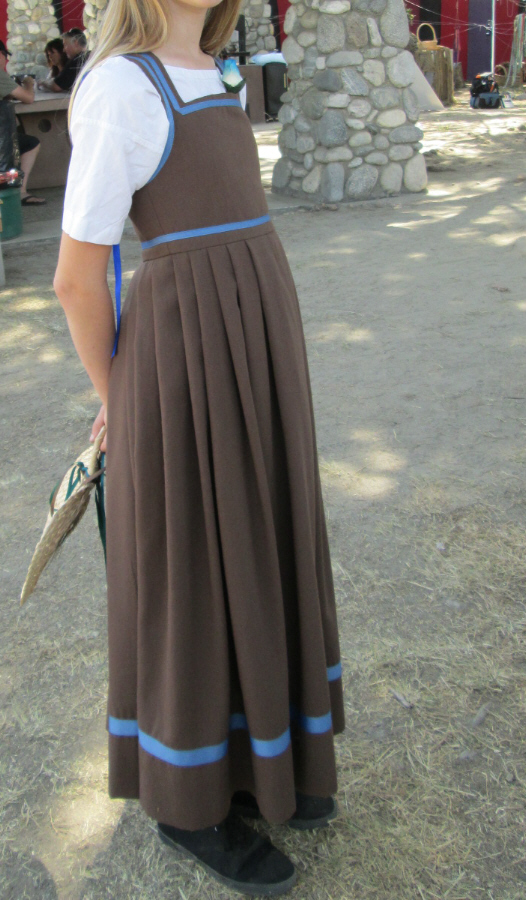
  • These two kirtles are made to patterns from The Tudor Tailor in Sew Classics Linen-Look from Jo-Ann's, respectively "Potting Soil", a much nicer-looking color than it sounds, a lovely chocolatey-brown, and "Natural" and "Clear Lake", which is a rather tealish-green. I like this fabric a lot – – it is a linen/rayon blend, machine-washable and dryable, and looks and behaves halfway between linen and wool. The rayon keeps it from wrinkling as easily as 100% linen does — in fact it is pretty much wearable straight out of the tumble dryer sometimes.  (Curiously, the brown has a slightly different hand from the tan or the teal, which looks the most linen-y of the three.)
    0360

    Julia's smock is from an old top sheet; I was hoping to be frugal and not buy something when I had this nearly-endless supply of white cotton, but it was perhaps not the best choice, as it turns out to be a bit stiff when made up into a smock, and the underarm gussets are rather more ungainly than my usual middling attempts. I used a "simple smock" pattern found on the internet, but made the sleeves short for Julia's comfort, and added a bit of chain stitch embroidery both to disguise the neck facing and to pretty it up a bit. The neck is too big, I'm afraid, but there wasn't time to make another one.

    My inspiration was mostly this,
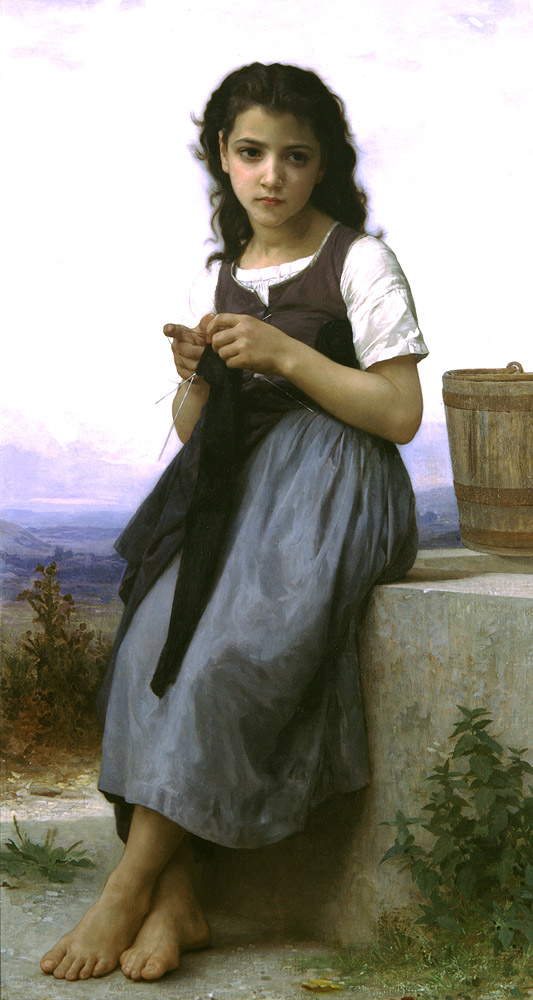
    William-Adolphe_Bouguereau_(1825-1905)_-_Little_Knitter_(1884)

    Bouguereau's 1884 "Little Knitter".  Not the right period, of course, but not completely wrong, either — and as it happened, the idea was reinforced by a woodcut in a book of an Elizabethan toddler in a similarly short-sleeved smock.  I figured that Julia would certainly be much more comfortable on a California summery-spring day in short sleeves!

    The trim is some "antique blue" grosgrain ribbon, which went on surprisingly easily – – 3/8-inch on the bodice and 7/8-inch around the bottom of the skirt. I really like the blue and brown combination, which is one of the reasons that I chose the dark-blue quilting cotton to line the bodice as well, giving it a little secret dash of color in relief from the brown.

    0305

    The bodice is interlined with some drill-like stuff I had sitting around, much of which I used to make a sloper for the same kirtle, but there is no boning as Julia is still slim enough not to need it.

    My sewing machine was absolutely not up to buttonholes through two layers of linen, two of muslin lining, and one of drill interlining, and I did not listen to either my own inner voice or my husband telling me that something was wrong with them, so I cut them all open and watched, dismayed, as the stitches popped right and left. I sewed around them with zigzag stitch and, on some of them, used some extremely wonky hand-sewn buttonhole stitch, to little avail. Luckily, they are at the side and under Julia's arm, so perhaps will not be noticed except by the more eagle-eyed viewer. The cord is made of some I hope distractingly pretty sapphire-blue crochet cotton, five very long strands twisted for hours until they folded back upon themselves and made a very handsome lacing cord.

    The skirts are knife-pleated along the waist, and the Linen-Look, which is very forgiving of amateur stitching anyway, takes this beautifully.
    0393

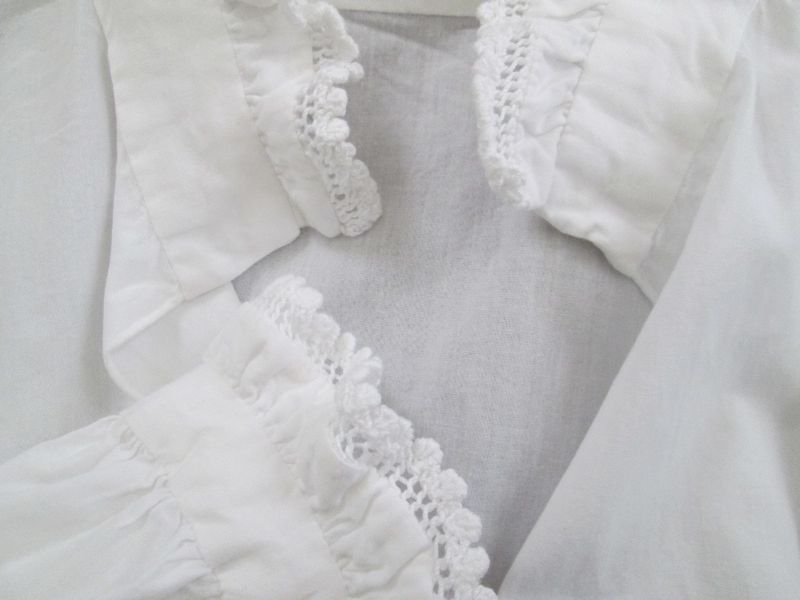
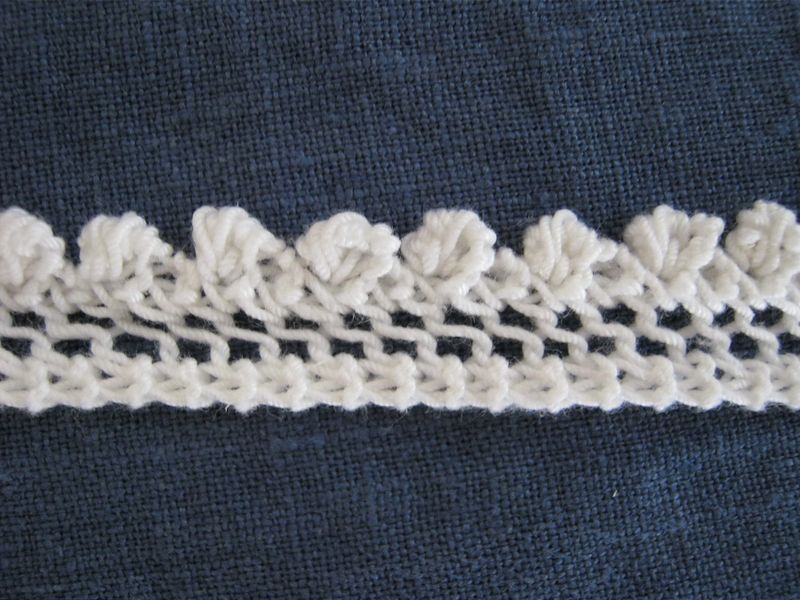
    Laura's smock is also made to the Tudor Tailor pattern, with bleached muslin and lace I knitted from crochet cotton. Now, this last is absolutely not "period", as knitted lace didn't come into general use for a couple more centuries, I think, after the Elizabethans, but well, it's just too pretty not to do it. I suspected that Laura would be a little disappointed not to get a gown like, say, this —
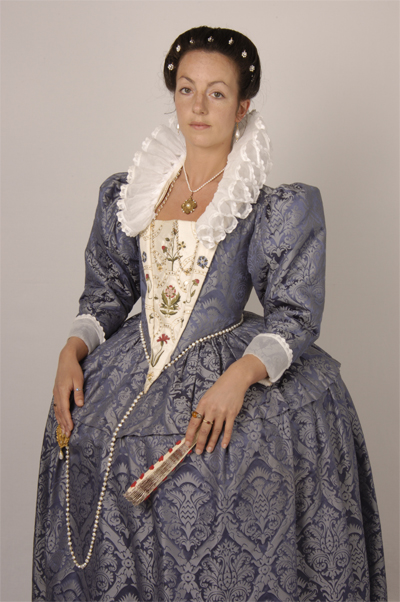
    Costume_6

    and she would certainly not mind as much as I would that her smock is not strictly period, so I went for prettiness and a vaguely-historical look instead. This is the pattern for the lace:

    Faggoted Picot Edging

    Cast on 6 sts.

    Rows 1, 2, and 3: Sl1, K2, yo, K2tog, K1.
    Row 4: [K1, P1] 3 times into 1st st (6 sts), sl the 5 sts just made (beg with first st) one at a time over last st — 6-st picot, K2, yo, K2tog, K1.

    Rep rows 1-4 until desired length.
    3359

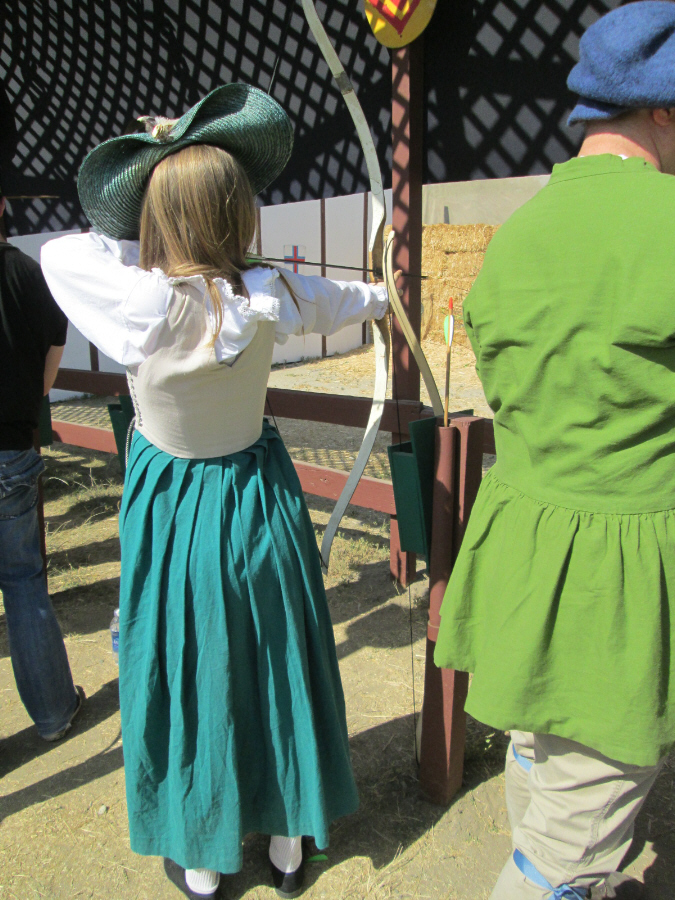
    I cut the sleeves for Laura's smock to the "narrow" version — these are pleasantly full, but not "puffy," which Laura said she didn't like. The sleeve and collar ruffles are about 1 1/2 times the length of the cuff and collar, to give a nice fullness but still show off the lace.

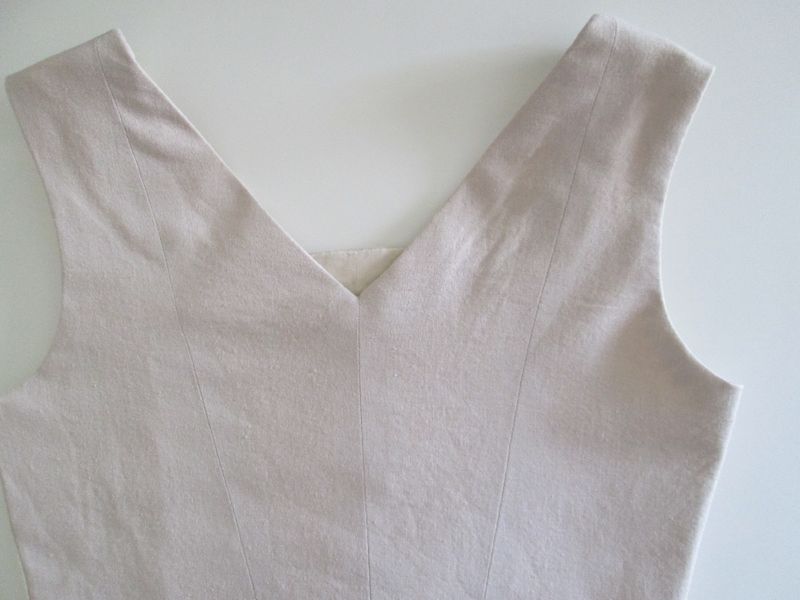
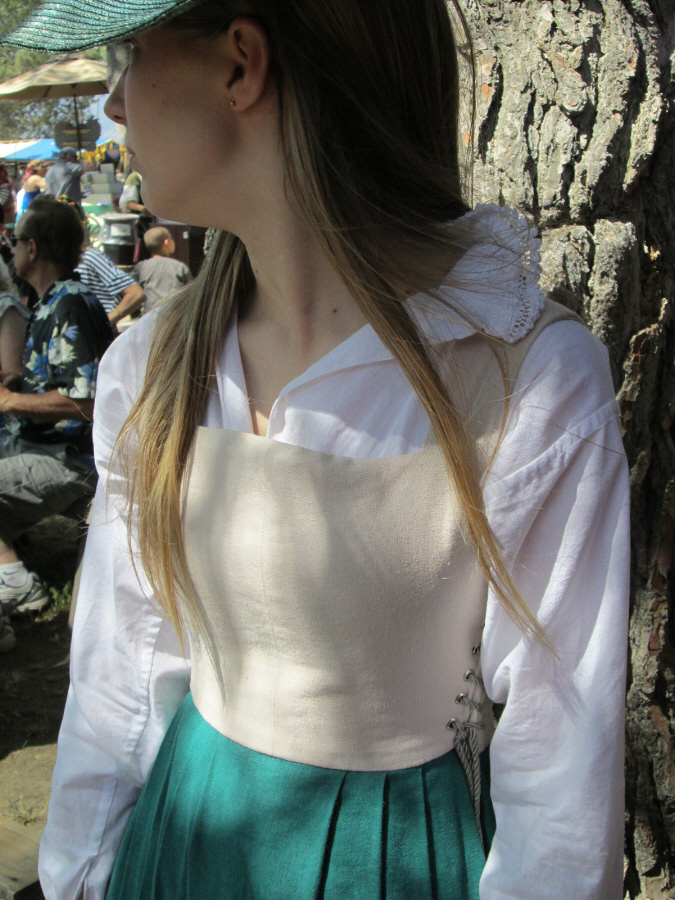
    The bodice took about 2/3 of a yard of the tan fabric, and the skirts two 45-inch lengths of the teal, using the full width of the fabric. The bodice is lined with unbleached muslin. The pattern is really splendid — the V-back is very flattering anyway, but the extra seams make it much easier to get a really snug fit, darts not being historically accurate.
    0375

    Laura's bodice is also unboned, but I used a slightly different method of interlining, following a suggestion in The Tudor Tailor. I used a piece of quite heavy chambray from my stash, and sewed it to a piece of muslin (which I also topped with a piece of the tan linen to keep the blue from showing through) — this made a pleasingly stiff bodice that when laced up is quite supportive for Laura's slim figure.

    0243

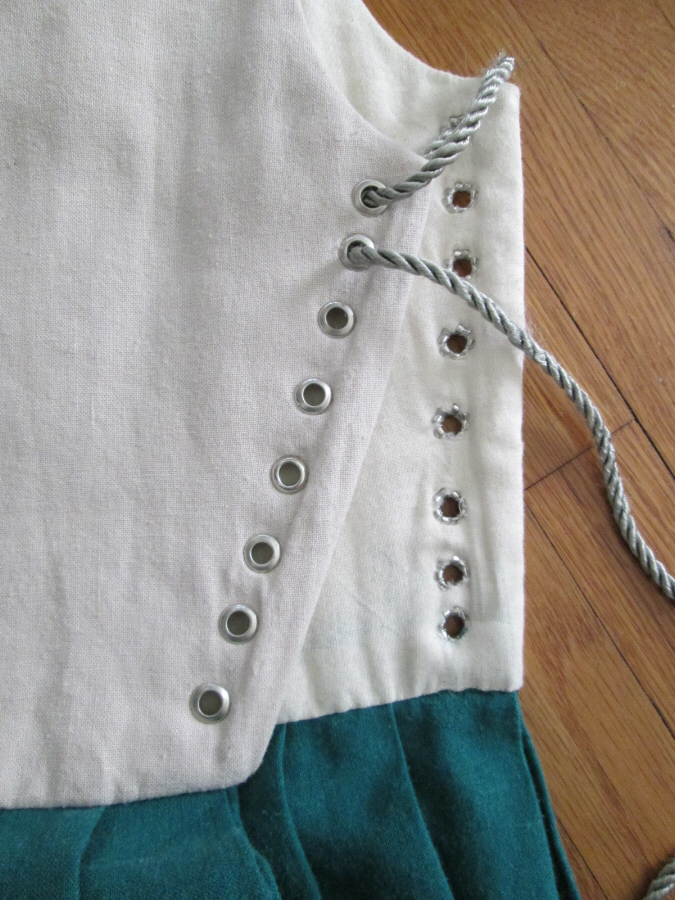
    The hand-sewn eyelets on Julia's bodice were such a failure that I didn't even try with Laura's, but took it straight to our local shoe-repair shop and had them put in grommets. I still feel strangely guilty about this, having read for years, I guess, those more historically-rigorous costumers who decry with various levels of vociferousness the wench/Ren-Faire look more suited to Oktoberfest than historical re-enactment. "No grommets!"  Oh, well. If I'm up to it, I might sew over them with thread to disguise the tell-tale glint of aluminum. I put in a piece of boning (actually cable-tie, trimmed) at the very edges for stability — of course, the use of boning at that place is historically-accurate, though cable-tie not so much!
    0314

    I took someone's suggestion of setting the grommets a half-inch from the edge of the fabric, making it easier to lace the bodice tighter or looser as needed.

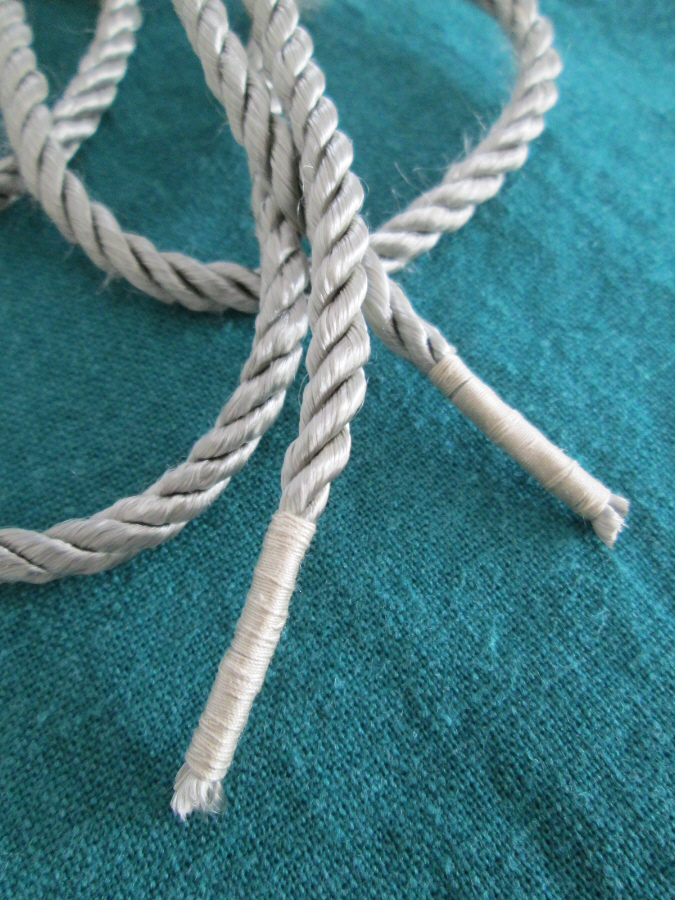
    The lacing is a pretty sort of taupe cord, whipped at the ends with regular sewing thread to compensate for not having aglets. The whipping might not be sturdy enough to take much abuse, so I coated it quite thoroughly with Fray-Check.
    0273

    Laura's skirts are also knife-pleated.  The girls' hats are from Cora Hendershot of Wheat Goddesses, at the Faire.
    0366

    Huzzah!